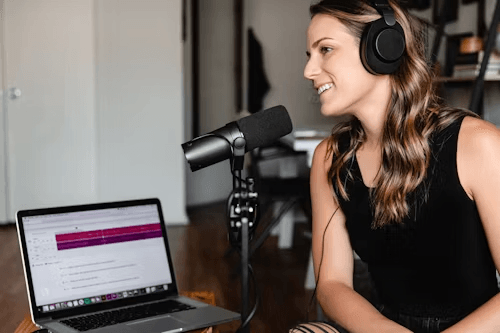
Recording a podcast on Discord has been one of the popular options among creators because it’s easy to use and has features that help you to maintain good audio quality. Recording either a multi-person conversation or a one-on-one interview is perfect using Discord, especially if this is your first podcast. In this step-by-step guide, we will show you how to easily record a podcast on Discord and explain each step taken to make sure your podcast sounds professional.
Why Use Discord for Podcast Recording:
Probably, recording a podcast is easier on Discord than any other way. You do not need expensive equipment or costlier software to record a podcast, and connecting with co-hosts or interviewing guests can be established using real-time voice channels.
Through these steps, you can natively record a high-quality podcast on Discord.
Step 1: Setting Up Your Discord Server
You’ll first need to make a server if you haven’t already done that. The server will become your studio in making your podcast. To set up the server follow these steps
- Open discord and log in into your account
- Click on the + icon left which has created a new server
- Type a name in the server and customize its settings to your preference.
- Set up an audio chat channel where you’ll create your podcast. That way, it keeps your server tidy.
Step 2: Choose Audio Recording Bot
Discord does not natively record, so you’ll need a bot. You’re not limited to just one option; Craig and Audacity might be great, easy quality choices. Here is how to add and use a bot:
- Find a Bot You Can Trust, such as Craig, at His Official Website
- Add the Bot to Your Server According to the Instructions Prompted; Ensure You Allow the Voice Channel Access
- Immediately the bot is added, using its commands, and to record, which Craig does, for example, with “:craig:, join”, beginning the recording of the channel audio.
Step 3: Test Your Audio Quality
You must always test your audio before recording for a flawless session. To this, you can use an online tool to test audio or check if the microphone used functions well.
- Speak into your microphone to confirm whether it’s picking up the sound clear or not. Test the audio left right to ascertain that the two sides of your headphones or speakers work.
- Get your best possible audio quality by changing the settings on your microphone through User Settings > Voice & Video in Discord.
- This step prevents nasty surprises from happening with mid-recording audio quality and gives you the confidence that your setup is ready for a smooth podcast.
Also Read: The Importance of Sound Quality in Online Meetings and How to Achieve It
Step 4: Record Your Podcast
Now it’s time to start recording your podcast. How do you do that?
- Have everyone enter the voice channel.
- Use the recording bot command to begin recording the conversation.
- Listen for audio levels. This is a significant monitoring aspect, as distortion or clipping can become problematic in recording.
- Once you have completed your session, you may turn off recording using the bot command.
The bot will also save your audio files in a format that can easily be downloaded and edited.
Step 5: Download and Edit Your Recording
You will need to save the audio file the bot has created in the storage, then move it to a sound editing software for possible adjustment of the audio quality, trimming of any unwanted pieces, and addition of music or effects, using for example Audacity or GarageBand.
Wniosek
Recording a podcast on Discord is an option for both the new users and the pros. With the help of these steps on recording a podcast on Discord, you will be well-prepared to capture audio that is clear and engaging. Check your kit, use high-quality recording bots, and edit your final file to achieve what you are after.
For a quick way to test your microphone, speaker, or audio channels before the next recording, try TheMicTest.com. It is free and clickable to confirm your audio quality to avoid these problems before they occur.
